I was really torn between putting tons of tassels and charms on the chain handle or leaving it plain. Which is the kind of inner discussion that generally ends with a compromise: making a detachable bling-bling.
Material:
Pieces of chain
Tassels
Bead with a large hole
Charms and interesting beads
Some kind of closure (like a snap-hook)
Pliers
Glue
Jump rings
Eye pins
Pincers
How to:
If your tassels are kinda messed up, simply shower them and let them dry again.
See? Cold shower helped. Anyway, cut the rope, cover one of the ends with scotch tape and pull it through the big-holed-bead.
Add jump rings with charms, chains with charms and beads etc.
Now make a loop from chain and the closure.
Put the loop on the rope form the tassel as well, pour some glue inside the bead hole and on the end of the rope and tuck it inside the bead. Done!
Dustbag is quite a practical thing - of course, plastic bags work as well, but in this case, I also wanted to protect the embroidery from
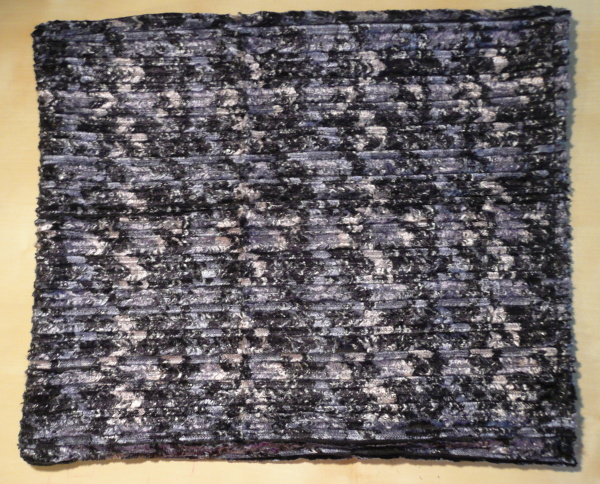
If you have and overlock machine, this literally takes 10 minutes. First, cut two rectangles of fabric. Mine had a kind of stripes, so I didn't even have to measure anything. However, don't forget the 3D character of your bag into consideration - I mean, you have to make the sides slightly larger because of the sides, the bottom, the handles etc. Put the two pieces of fabric right sides together.
Sew 3 of the 4 sides. If you use overlock, you oversew while finishin the edges (I desperately need to learn correct sewing vocabulary >.<). Then run the overlock around the unfinished side (which now became circular). If you only have a regula rmachine, simply use a zig zag stitch to finish the edges and oversew with a straight stitch.
Fold the hem and sew.
Turn right side up.
Measure the circumference of your button. Divide by 2 - that's the length of your button hole. Mark a line (in my case 3,5 cm) from about 1 cm frm the hem towards the other side of the bag. Then sew the button hole and cut it. It might sound kinda weird, but since this is a dustbag, you can be lazy and just use your machine's button hole program - it does everyhting for you, even knows how to leave just enough fabric between the stitching so that you can cut the actual button hole. But lazy girls like me use this even on blouses...
See the blue settings? That's the 4 parts of the button hole.
Put a pin throught the hole and dig it inside the bottom layer of fabric as you see in the picture.
That's where you'll sew the button on.
See?
And the final picspam:
Yours truly
Vita
Měla jsem velké dilema, jestli na řetězové ucho přicvakat spoustu třpytivých věcí a střapců nebo ho nechat být. A jak už to u těchto vnitřních diskusí bývá, dospěla jsem ke kompromisu: prostě ty ozdobičky budou odendavací.
Materiál:
Kousky řetízků
Střapce
Korálek s velkým otvorem
Přívěsky a zajímavé korálky
Malá karabina
Štípačky
Lepidlo
Kroužky
Ketlovací jehly
Nůžky
Návod:
Pokud jsou střapce pocuchané, odprchujte je vodou a nechte uschnout.
Jak vidíte, tak studená sprcha pomohla. Rozstřihněte provázek, jeden konec omotejte lepenkou a provlečte jej korálkem.
Přidejte kroužky s přívěsky, řetízky apod.
Nyní udělejte z řetízku a karabinky smyčku a navlečte ji taktéž na provázek.
Nyní dejte trochu lepidla do díry korálku a také na konec provázku a nacpěte ho do korálkové díry. A hotovo!
Sáček na kabelku je značně praktická věc. Samozřejmě proti prachu poslouží i obyčejný igeliťák, ale já chtěla hlavně svůj nový výtvor ochránit před
Pokud máte overlock, je to záležitost na necelých 10 minut. Z látky vystřihněte dva obdélníky, nezapomeňte připočítat fakt, že kabelka je 3D a má tedy i strany, nejen předek a zadek. Jelikož jsem vzala žebrovanou látku, nijak jsem to neměřila, jen střihla od oka, pokud to s vaší látkou nejde, narýsujte si obdélník pomocí pravítka a pastelky.
Sešijte 3 ze 4 stran k sobě. Pokud máte overlock, je to ještě jednodušší, protože máte zároveň sešito i začištěno. Následně o-overlockujte ještě poslední stranu (aniž byste ji přitom sešili XD). Pokud overlock nevlastníte, nic se neděje, jenom budete muset všechno šít dvakrát - sešít k sobě rovným stehem a oentlovat cik cak stehem.
Zahněte okraj a prošijte.
Otočte na líc.
Změřte obvod knoflíku a vydělte toto číslo 2. Např. polovina obvodu mého knoflíku je 3,5 cm. Následně si na svrchní látku narýsujte rovnou čáru (kolmo na nesešitou stranu) dlouhou právě tak (3,5 cm). Tato čára by měla začínat minimálně 1 cm od okraje látky. Teď kolem této čáry obšijte knoflíkovou dírku - je na to zvláštní program na šicím stroji. Hezčí jsou dírky obšívané v ruce, ale upřímně, lenoši jako já je šijí na stroji i na oblečení, natož na sáčku ze zbytků...
Vidíte ta modrá nastavení? To jsou 4 kroky vedoucí ke knoflíkové dírce snadno a rychle.
Zapíchněte do spodní látky skrze knoflíkovou dírku špendlík.
Tam našijte knoflík.
Vidíte?
A přehršel obrázků:
S láskou
Víta
Hypersmash.com


Hi Vita! I always do my button cases by hand, I'll try to see if I can find that button in the sewing machine and I'll try to do it! :D thanks for the tip! The final result of your project is amazing!:D
ReplyDeleteThank you! Wow, I'm too lazy for that. XD I admit I don't know if all machines have it, but I think it's one of the more basic functions, so I hope you can find the program in yours. :)
Delete