

Cutify: Clothes hangers
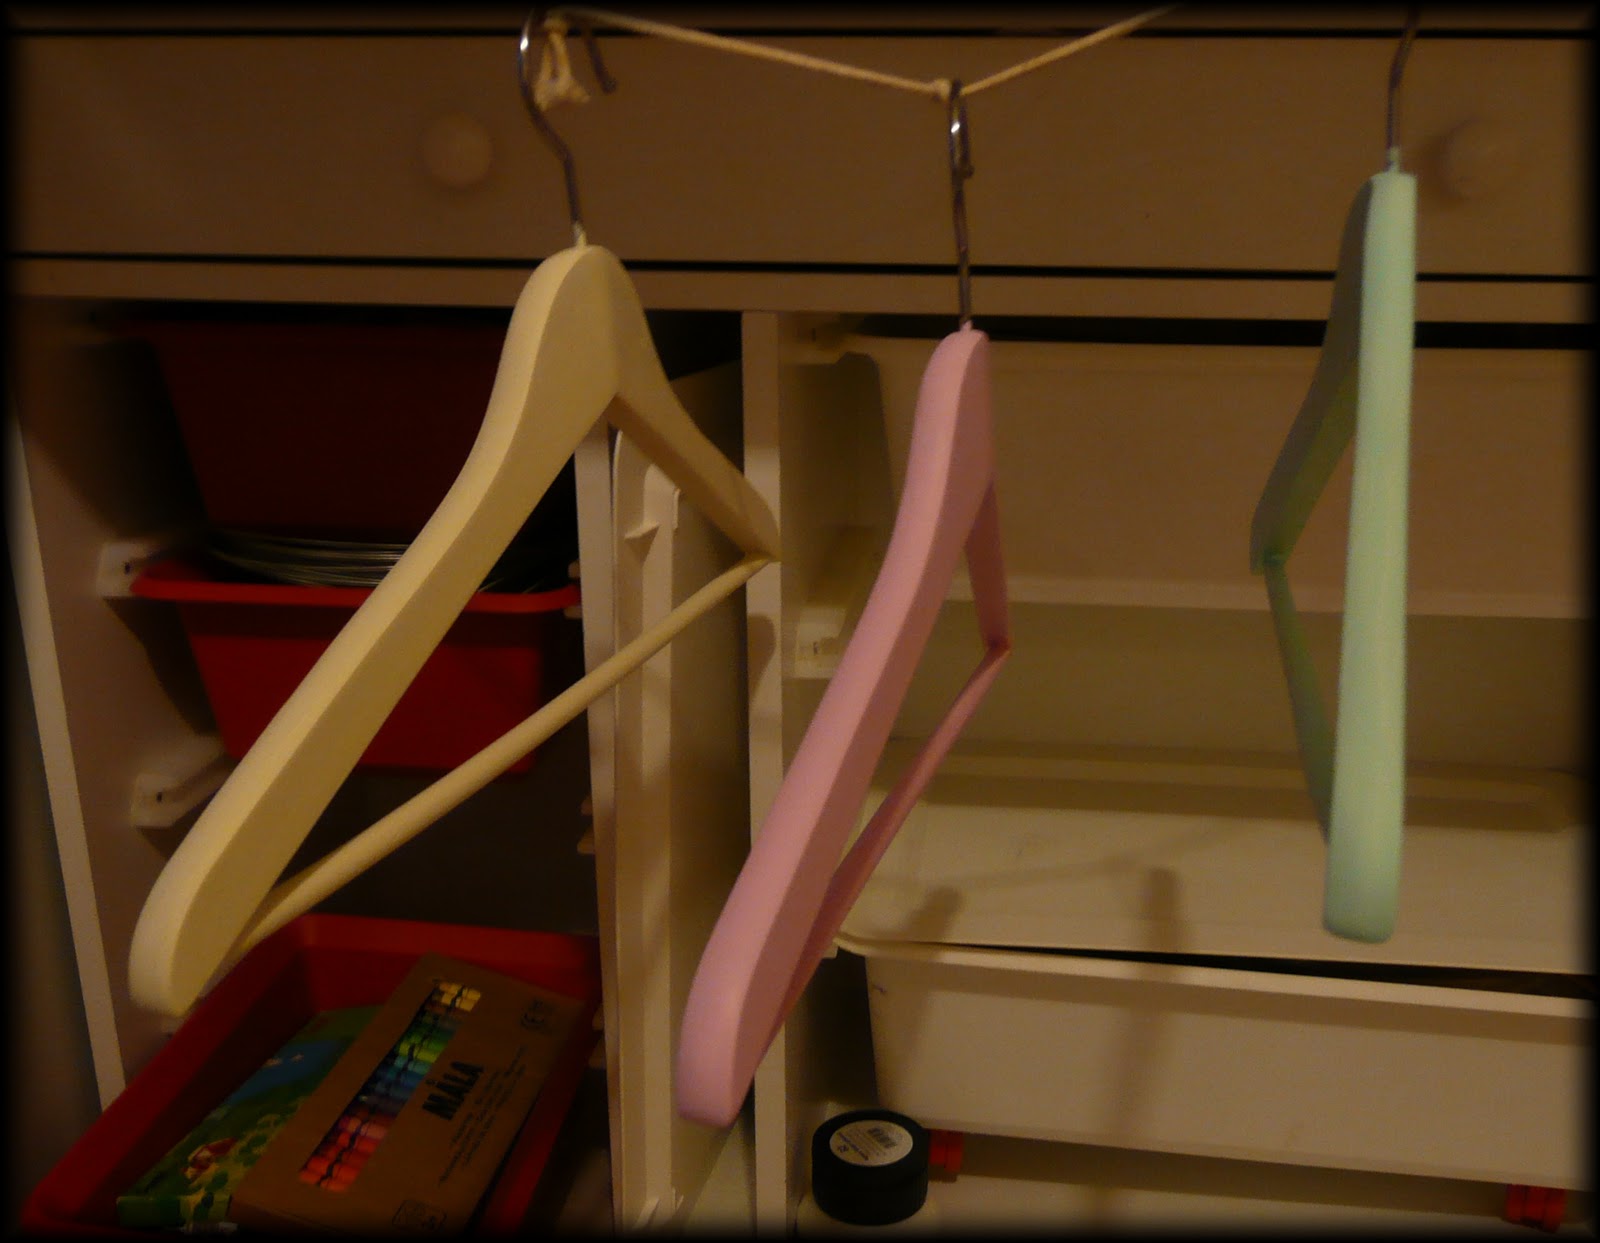
Which pile of hangers would you choose?

or

(If you just pointed at the upper one, you might have visited the wrong blog :) ) You might be wondering why exactly should you care about hangers - they stay hidden in your closet, no one can see them and in reality, your dresses don’t give a damn about hanging on plastic hangers you got for free at Tesco or on golden hangers with diamonds. However, nowadays many people choose to have a separate dressing room, or they have one of the runway-like coat racks with the pieces they wear most often. And even if you have an old-fashioned wardrobe, which stays closed for the whole day, small details - even if no one can see them - still participate in the creation of a pretty environment around you. And maybe you’ll stop tossing clothes into some dark corner thanks to your brand new handmade hangers (if you never did that, you rock!).
Material:
Hangers (8 for 70 - 130 CZK at Ikea)
Acrylic paint - white and other colours according to your preference
Decoupage glue and colorless polish
Brush
Rag
Palette
Nail scissors
Remnants of ribbons
Printed paper napkins


Time:
ca. half a day
Difficulty:
1/5
How to:
1) You can either buy the hangers in the “natural state” or get ones that are already painted. It’s cheaper to get the plain ones and paint them at home. The packs often include damaged ones, so take your time to find the alright ones.


7) After drying (thank god this is the last time it has to dry), tie a small bow around the hook and cut the ends aslope or into a V shape.


And voila, you have ultra cute hangers.

Other options?
I) Instead of using napkins, you can make polka dots with a darker or contrasting shade.
II) If you were blessed with painting abilities, you can paint animal prints.
III) Get inspired by Hundertwasser, especially if your room is modern and a bit funky.
IV) Use metal-like paint or one that glows in the dark
V) If your surname is Swarovski, or you have bags full of rhinestones, the patience of a saint and you love some bling overload…
Is it really safe to paint hangers? Won’t it color the clothes?
If you use high quality acrylic paint (definitely not watercolor or something like that!!!), and high quality polish, there’s no reason for the paint to come off the hanger and on your clothes. At least it never happened to me.
On Monday, I'll post the hangers' individual pictures!
Your truly
Vita
Vaše šaty se také chtějí cítit krásně
Aneb vše co se hýbe dostatečně pomalu může být nadecoupageováno
Kterou hromadu ramínek byste si vybrali?
nebo
(Jestli jste právě ukázali na tu nahoře, asi jste si spletli blog :) ) Možná si říkáte, že je to přeci úplně jedno - ramínka visí v zavřené skříni, nikdo je nevidí a vašim šatům je ve skutečnosti úplně jedno, jestli visí na ramínku, které vám přidali k nákupu v Tescu, nebo na ramínku ze zlata posázeném diamanty. Jenže dnes spousta lidí přechází na šatny jakožto samostatné místnosti nebo naopak mají v pokoji krom skříně i samostatně stojící věšák a na něm pověšené nejčastěji nošené kousky oblečení. A i pokud máte klasickou skříň, která je po většinu dne zavřená, drobné detaily - i když nejsou všem na očích - se také podílejí na vytvoření hezkého prostředí kolem vás. A možná díky vlastnoručně ozdobeným ramínkům přestanete házet svlečené oblečení do kouta (všechna čest, pokud tohle občas neděláte).
Materiál:
Ramínka (8 ramínek za 70 - 130 Kč, Ikea)
Akrylové barvy - bílá a další dle odstínu, který chcete namíchat (dle velikosti pod 100 Kč za tubu, výtvarné potřeby, např. kousek pod I.P.Pavlova)
Lepidlo na découpage a bezbarvý lak (60 - 80 Kč, výtvarné potřeby, např. kousek od I.P.Pavlova)
Štětec
Hadr
Paleta
Nůžky na nehty
Odstřižky stuh
Ubrousky s hezkými drobnými motivy (4 - 10 Kč/kus, výtvarné potřeby, např. kouskem pod I.P.Pavlova)
Čas:
cca půl dne
Obtížnost:
1/5
Postup:
1) Buď si můžete koupit přírodní ramínka, nebo již namořená/nabarvená. Levněji vychází si koupit přírodní a namalovat si je doma. Často bývají různě okousaná a jinak poničená, tak dlouho přehrabujte, až najdete nepoškozený balík.
7) Po zaschnutí uvažte kolem háku mašličku a zastřihněte konce šikmo nebo do tvaru V.
A máte hotové ultra roztomilá ramínka.
Varianty?
I) Místo lepení ubrousků udělejte puntíky v tmavším nebo kontrastním odstínu.
II) Pokud oplýváte trochou výtvarného talentu, můžete ramínka pomalovat zvířecími vzory.
III) Skvěle by mohla vypadat inspirace Hundertwasserem, obzvláště v modernějším, ale vtipném interiéru.
IV) Použijte metalické barvy nebo barvy svítící ve tmě.
V) Pokud máte příjmení Swarovski nebo nadbytek blyštivých kamínků, trpělivosti a milujete deco den…
Je fakt dobrý nápad pomalovat zrovna ramínka? Co když to pustí na oblečení?
Pokud použijete kvalitní akrylové barvy (rozhodně ne tempery nebo barvy tohoto typu!!!) a kvalitní lak, tak není důvod, proč by to mělo oblečení cokoliv udělat. Alespoň mě se to tedy ještě nestalo.
V pondělí přidám články s každým ramínkem zvlášť!
S láskou
Vita
Děkuji za tip...Tohle je skvělé :D
ReplyDeleteDěkuji, jsem ráda, že se líbí <3
DeleteTy jsi tak šikovná, to je nádhera! *_* Já jsem na tyhle věci levá. ˘_˘"
ReplyDeleteDíky moc, ale prosím tě, proti tomu, co vyrábíš pro RF je tohle hračka ;)
Delete